
How To Build The Perfect Bike Rack
When it came to hauling our bikes, we wanted to find a solution that made our over length shorter and gave us the ability to leave the bikes on the RV if we were at a location where we could not be using them.
Having the bike rack on the back of the Jeep increased our overall length by about 5 feet, and it also meant that we had to unload the bikes and remove the bike rack every time we pulled into a new site. Otherwise, we had to worry about the bikes everywhere we went, and it made grocery shopping a bigger chore because we had to load everything through the side, then over the back seat and then remove all the groceries in the same way.
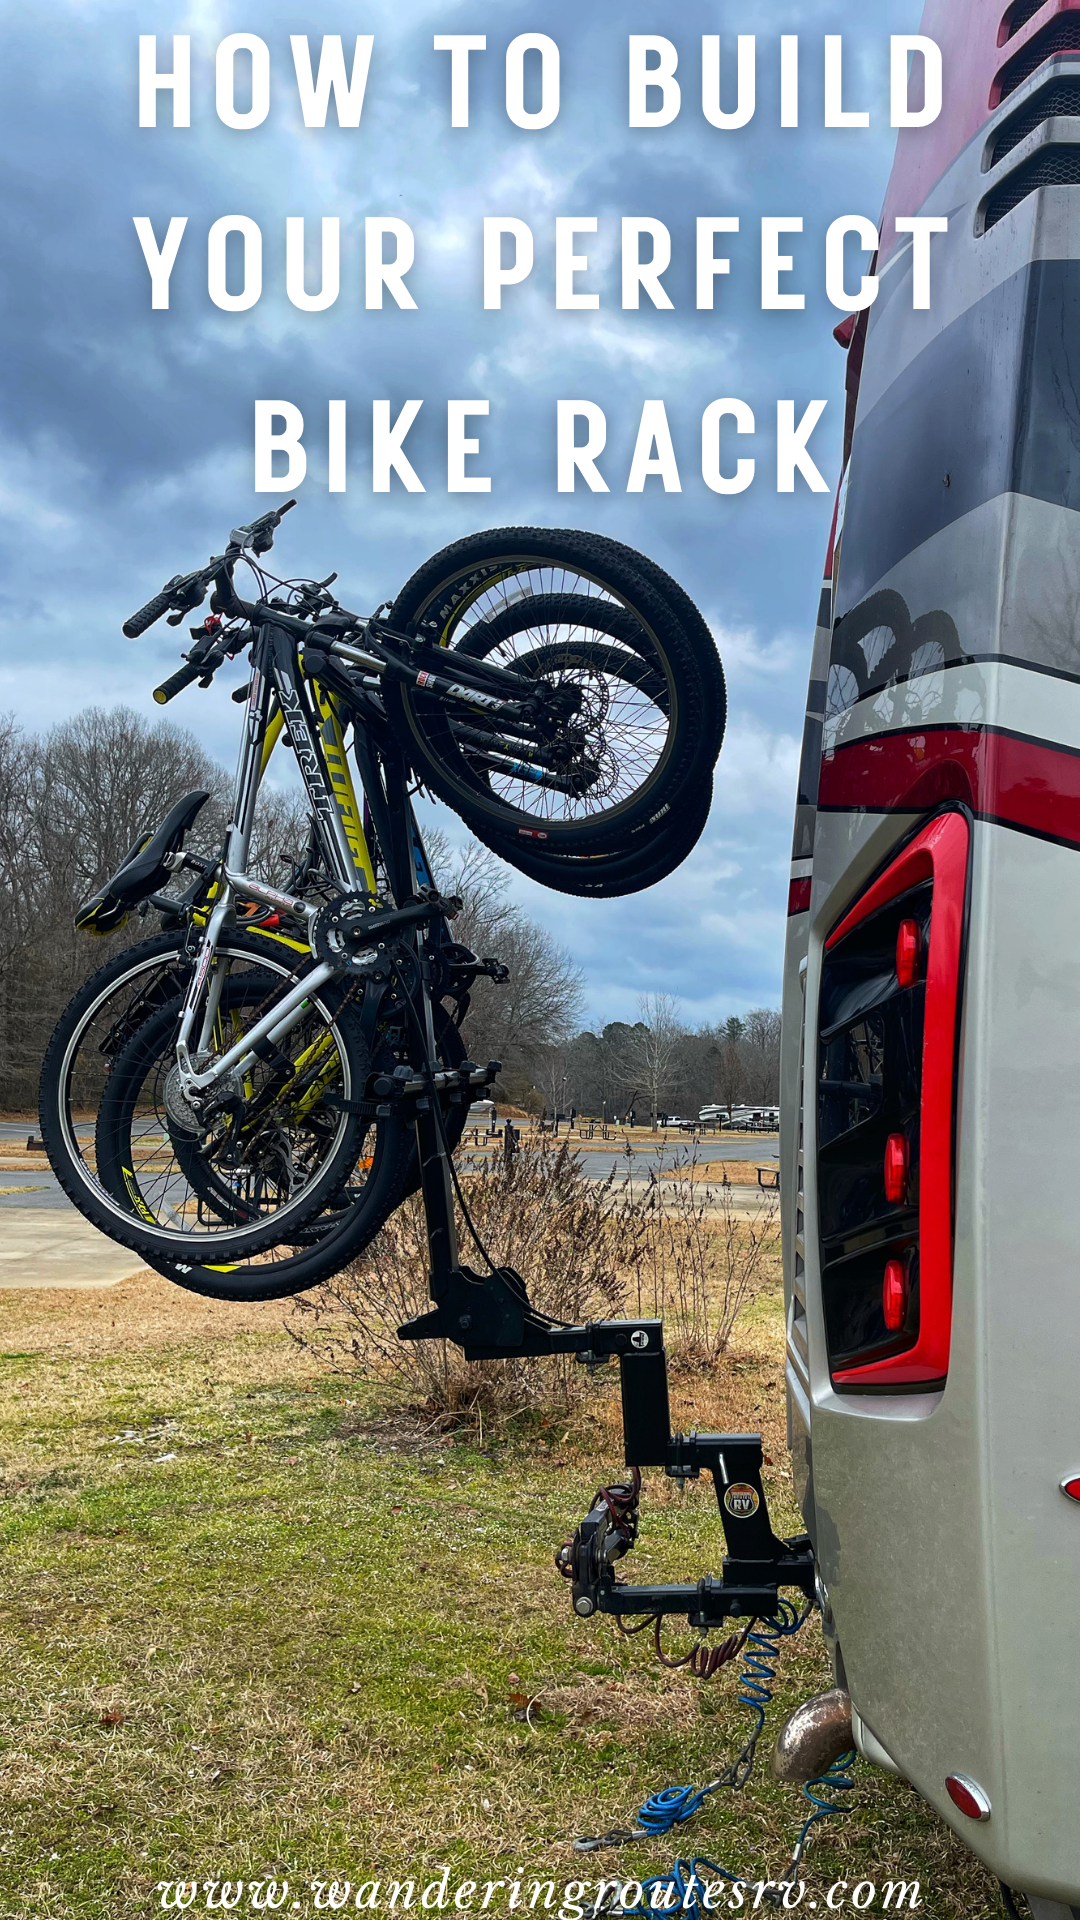
Our solution was to assemble a few racks to give our bikes the height to clear the front of the Jeep and allow us to leave them on the RV when we weren't going to use them.
This rack system works great for hauling our bikes on the back of our motorhome. The parts we used would work great on a 5th wheel or travel trailer as well. You would not need to purchase the dual hitch riser, (listed below) for this system to work for you.
The Yakima Hangover Bike is only for bikes with front suspension.
We tried to use it with a bike without front suspension and it does not work.
We bought a different bike for this system to work for us.
The parts we used to build our bike rack are:
Click here for a complete list of items used for this bike rack.
This gives our bike tires 9” clearance from the motorhome, 45” clearance from the ground. This will vary by the height of your hitch on your motorhome.

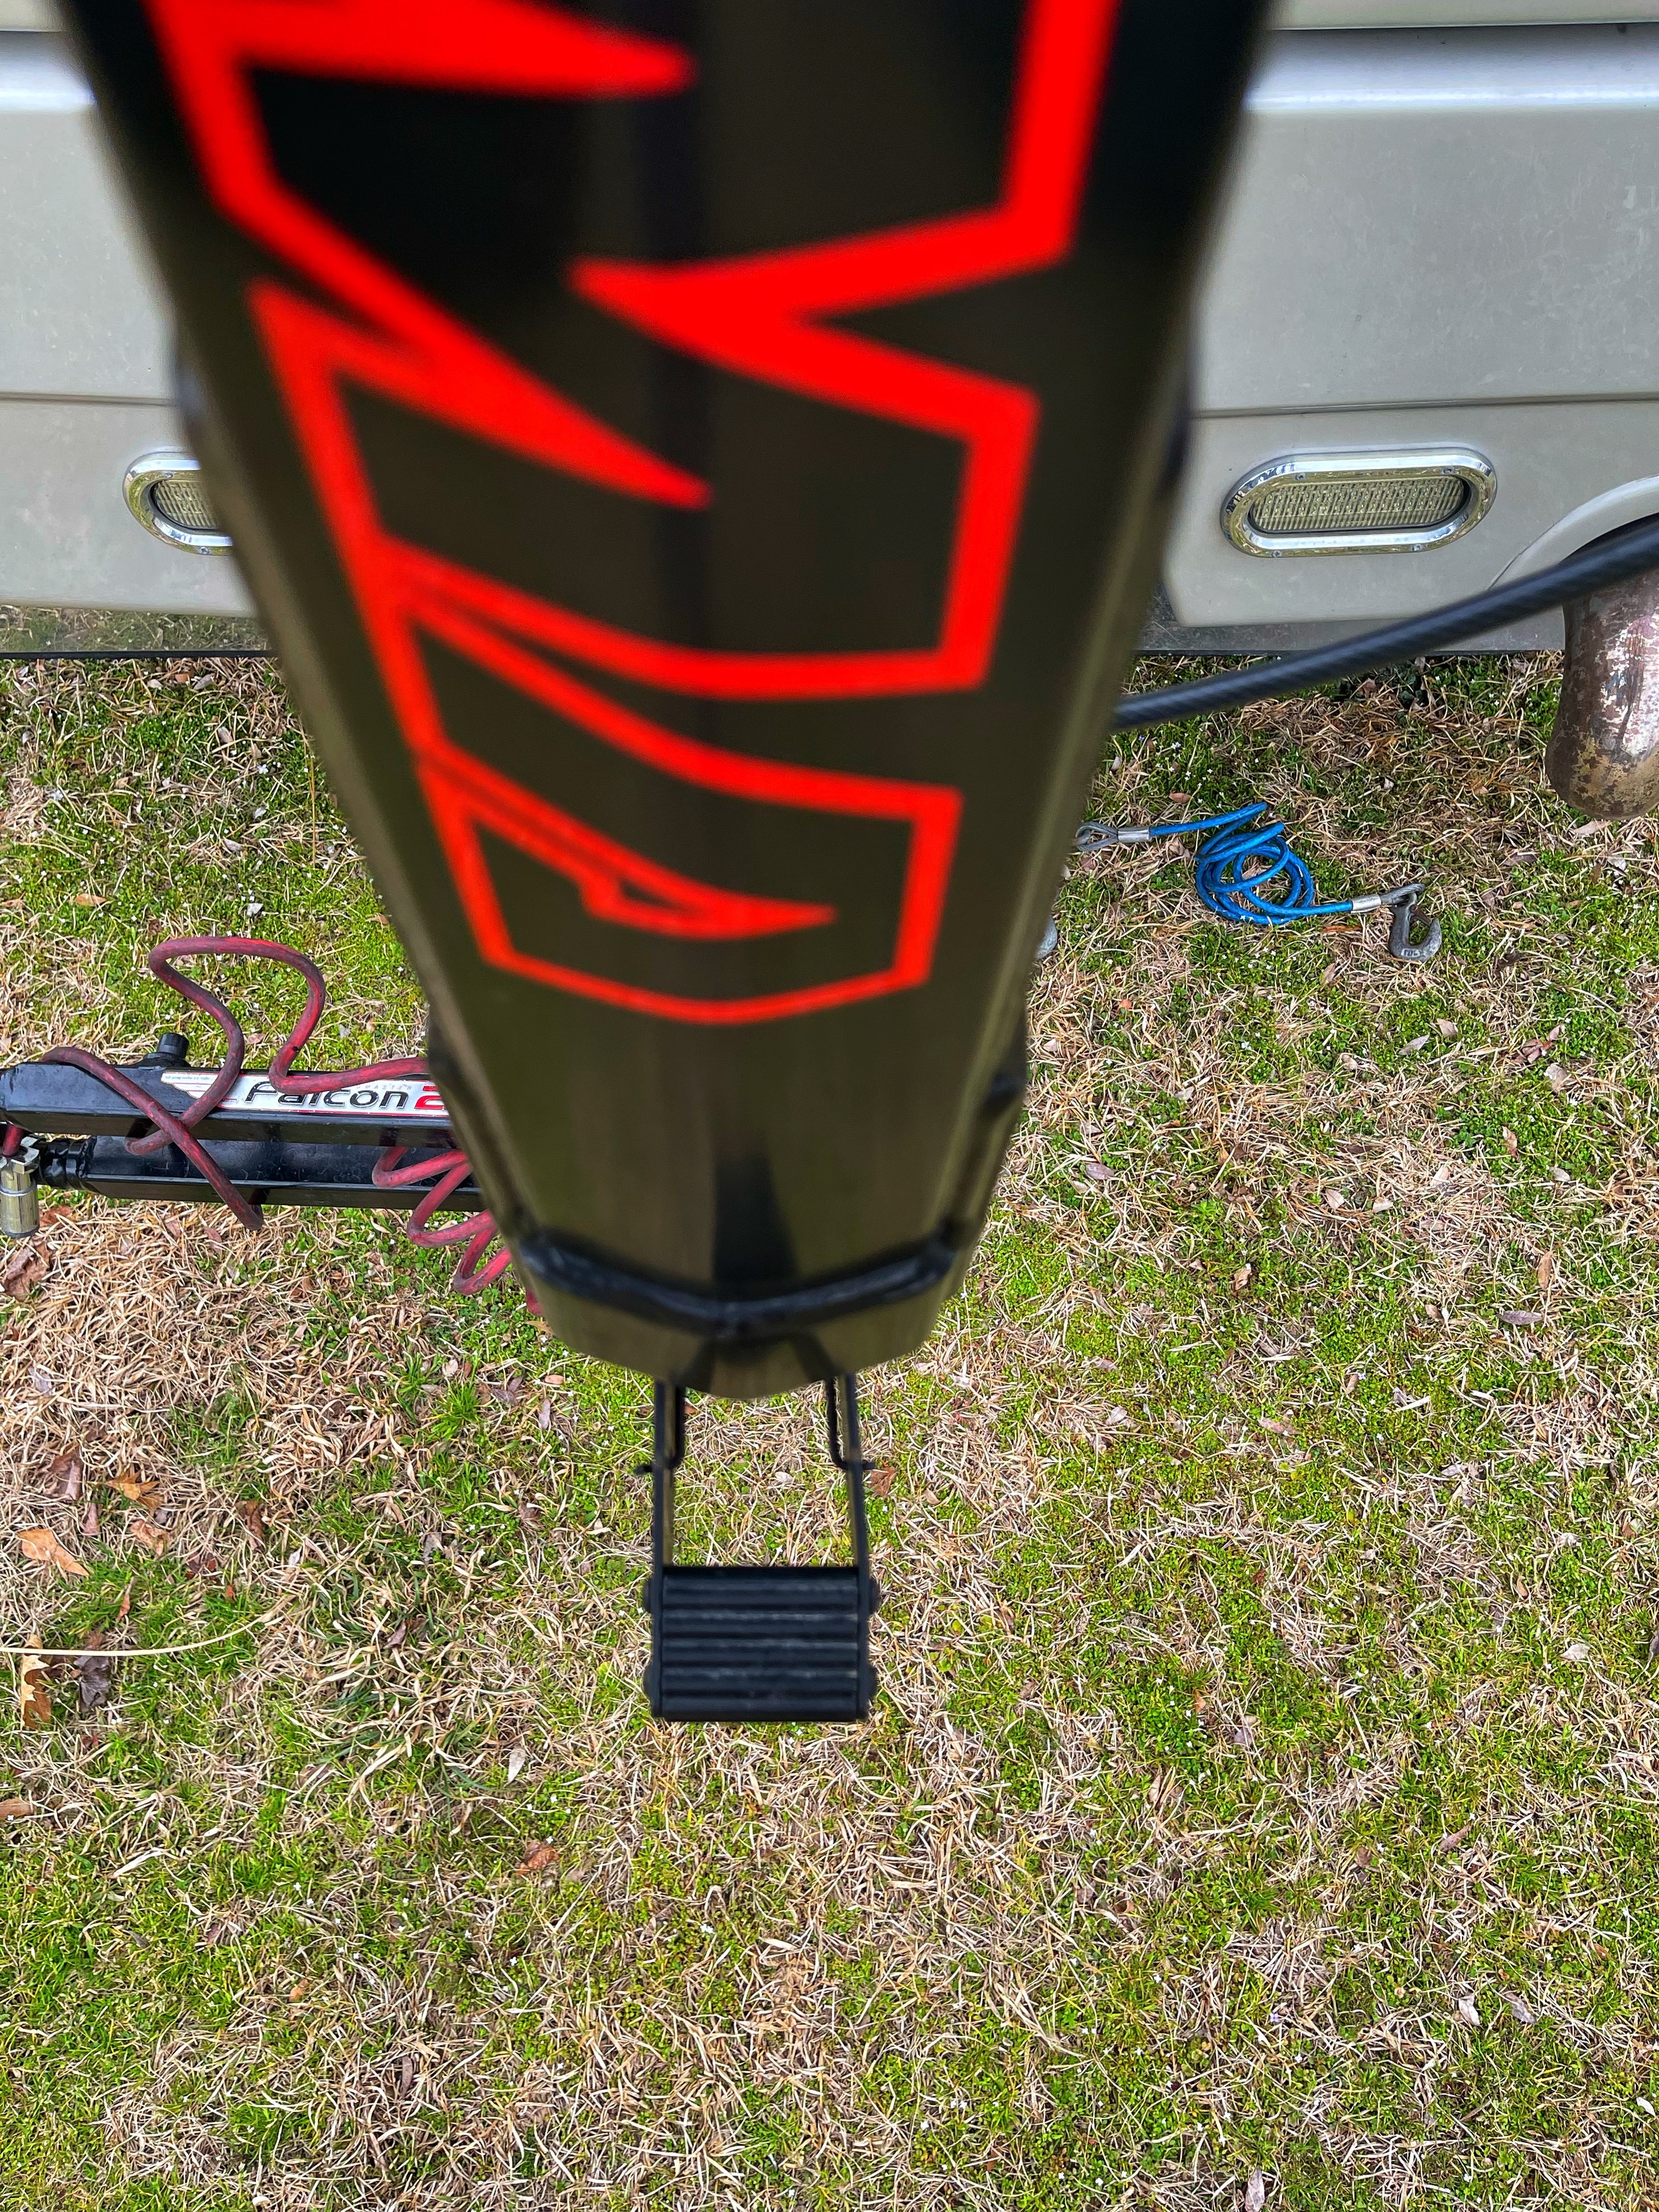
Foot lever for changing the angle of the bike rack.

Bike Rack in lowered position used to load bikes.
The bike rack has a lever you can push to drop the back end down, allowing you to load your bikes more easily. Once the bikes are loaded, press the lever and place the rack back into the upright position.
The ability for this rack to move into two different positions also makes it possible for us to haul the bikes on the Jeep when heading to a trail because the bikes can be transported while the rack is in the lowered position, which allows the bikes to clear the spare tire mounted on the back of our Jeep.